

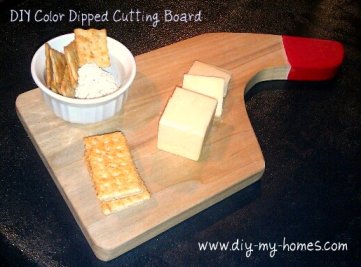
I’ve been spotting some color dipped cutting boards in the $150-250 range at Anthropologie and a few other stores. And I had made a mental note many months ago about this stuff called Plasti Dip that is meant for dipping your tool handles (and probably suitable for many MANY more DIY projects.)
I have ALWAYS liked the idea of making cutting boards, but prefer to stick to big impact DIY projects.
You know, the ones that are easy and/or save you LOTS of $$$. With that said….this is SO easy and WAY less than $200. It’s a solid slab of wood and the Plasti Dip was under $7.
Psst…they’d make great gifts too!
First, you’ll need to find some scrap wood or buy some nice wood at the lumber yard or home improvement store…keep in mind that the harder woods are best for cutting boards. We used Poplar, which isn’t really that hard but we are just using it occasionally for cheese and crackers or bread.
<i’ve only=”” used=”” it=”” <span=”” class=”hiddenGrammarError” pre=”it “>a couple times so far but there aren’t any cuts on it yet so that’s a good sign, right?!>
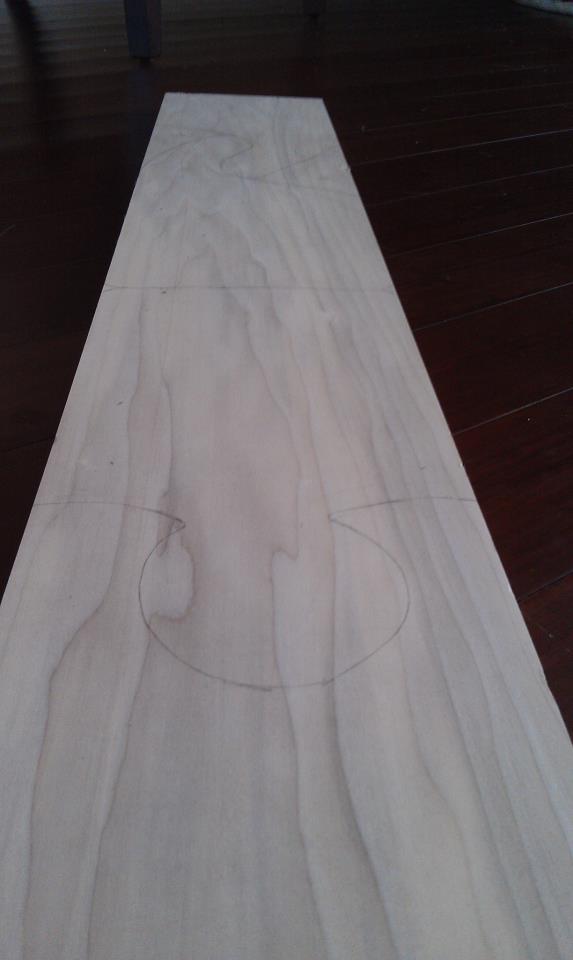
As you can see, I drew some patterns on the board with pencil…I wanted to get 4 cutting boards out of my 4 ft board without wasting too much. You could always make rectangular ones if you don’ t have a jigsaw.

Then I broke out the jigsaw…I was a bit rusty. Thankfully cutting boards are forgiving.
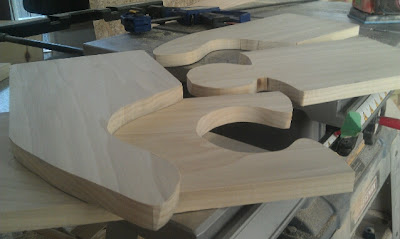
Not too bad, right?! Then comes the real work!
Sanding…
and sanding…
and sanding…oh my!
and repeat with fine grit paper.
Use a hand sander, I started with a really rough paper 80-110 range then a finer paper (I used 220). Then I got lazy and quit so Dave went over them again (that’s true love!)…make sure you get all the edges, sides, top and bottom.
Good thing they looked so cute and felt so smooth or I might have given up on ever doing this again :)
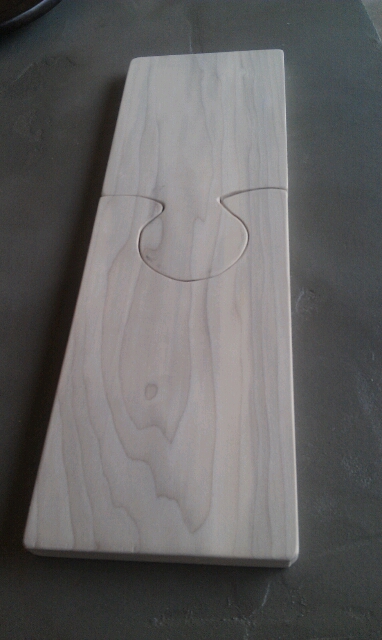
Here they are:

I didn’t intentionally create this “puzzle” cutting board to go together
But it sure would be nice to keep those top ones as a set to be used together for long french baguettes and then they can come apart to use for cheese and crackers as well! Who doesn’t love a multitasking kitchen item?!
Apply mineral oil to the boards to seal them. I actually used an orange oil & beeswax combo that I found.
Then it was time for fun!
After discovering the Puzzle Cutting Board, I couldn’t ruin those ones by dipping the ends…
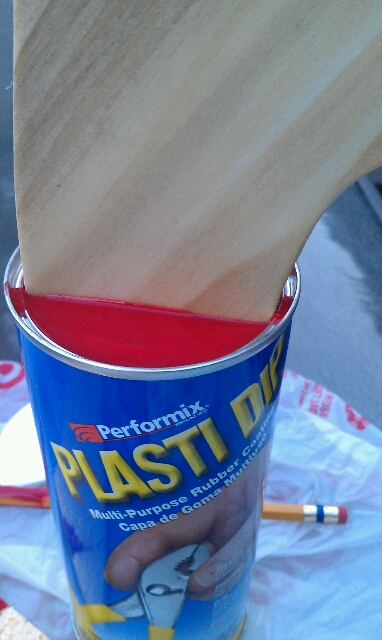
BUT the other two were practically begging to jump into the Plasti Dip. I knew they would look GREAT with a splash of color on the handle. It’s a rubbery goo and so easy to use…
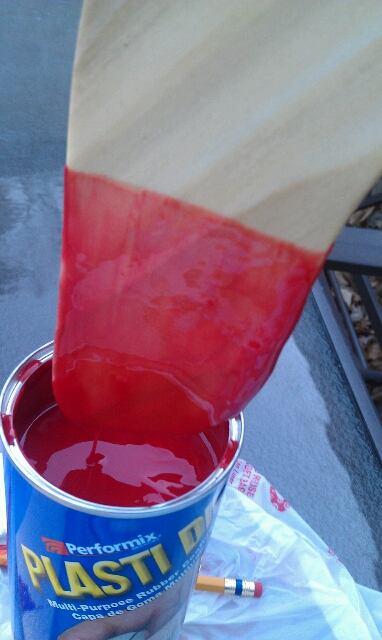
Just dip it in (make sure to mix it up and do this outside since it does stink…but well worth it):
Mine was a bit thin at first because it wasn’t sticking to the mineral oil that didn’t soak in yet. You should probably dip first then oil…or at least be patient enough to let the oil all soak in.
So I let it dry and gave it one more coat. Turned out GREAT!
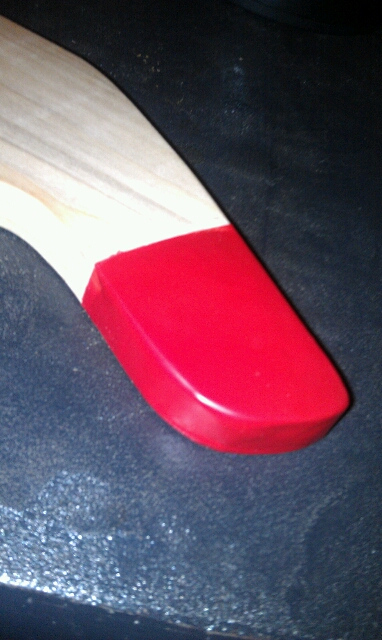
I like that that rubbery handle adds a nice grip to the bottom. Might be nice to coat the whole bottom with it.

It comes in any color imaginable! I think I’ll be doing the ends of my keys next.
I saw some table legs, origami birds and pine cones on Pinterest that were dipped in Plasti Dip. The white ones gives the look of ceramic but much more kid friendly!
Any other ideas of things we should be dipping?! Please share in the comments…
